Keeping with Easter coming up this Sunday, I thought about the most elegant eggs people can make themselves. Not many people can own or even get near Faberge eggs. This are the next best, with their intricate patterns on such a small canvas. I hope you enjoy this post.

 by Jennifer Sartell
Once a month I head a women's group of Farm Girls. It's a group of brilliant women, kindred spirits and pioneering ladies who are trying to revisit the joys of living a simple life. We've canned together, made cheeses, knitted, spun, and wove baskets to name just a few activities.
Recently, I've met a like soul in Kathy McMinn, owner and operator of The Basket Sampler, where I get my weaving supplies. Kathy mentioned that among her many talents, she could teach our group how to create Ukrainian Eggs. I thought this would be a fantastic April theme with Easter coming.

The traditional Ukrainian Egg is actually called a Pysanka. It is a highly detailed way of decorating an egg using wax and dyes. This form of art dates back to ancient times, with each element of decoration having a symbolic meaning relating to earth and the sun. The egg itself, having been linked with birth, renewal of life, and of course spring time, has held meaning in both ancient beliefs and over history, and has translated into modern Christian traditions.
While our eggs are not traditional Pysanka, this wax relief method is a great way to create beautiful Easter decorations.
All of your supplies can be found at online specialty stores like www.learnpysanky.com/supplies.html.
You will need:
While our eggs are not traditional Pysanka, this wax relief method is a great way to create beautiful Easter decorations.
All of your supplies can be found at online specialty stores like www.learnpysanky.com/supplies.html.
You will need:
- raw eggs
- rubber bands
- pencil
- kistka (or wax applicator)
- egg dyes
- lit candle for heating the kistka and melting the wax
- beeswax
- egg blower
- polyurethane spray
- lots of paper towels
- patience (wink)
- steady hand (wink)
We started with a raw egg. You can use any color egg. White, brown or even green Araucana eggs would be beautiful. For an excellent read on dyeing home-grown brown eggs, check out A Very Colorful Celebration by Jennifer Burcke for additional dying tips.

We divided the egg into quadrants using rubber bands as guides. This helps to center the design. Then with light pencil lines we drew on our decorations. There are many sources online that give different patterns and ideas to get you started. I found the site LearnPysanky.com to be very helpful. Once you have your design drawn on, the wax process begins.

The kistka is a tiny metal cup fastened to a stick-like handle with a drawing tip underneath for the wax to run through. This is your "pen," which will trace your design on between dye steps.

The tricky thing about understanding the wax relief method is that anything you trace in wax will stay the color that's underneath. For example, if you start with a white egg, any wax that you apply to the white egg will stay white. Once you have all the parts you want white covered in wax, you can dip in the dye bath. Say your next color is yellow, you would dip the whole egg in yellow, dry and apply more wax. All of those wax applications will stay yellow, and so on. So it's a process of layering color and controlling where it stays with the wax application. Work from light to dark dyes.

We heated our kistka cup over the flame of our candles, scooped up a tiny amount of wax and allowed it to melt. And then we began tracing our design. You can practice drawing on a scrap of paper before you go to the egg. We would trace certain elements, then dip in the dyes. Then trace a bit more, and then back into the dyes, each time layering the next color.
When our design was complete, the traditional color to finish with is black. I love the way it looks. It makes all the other colors pop.
Once the egg is done being dyed, it's time to unveil the finished design by melting the layers of wax off and reveal all those beautiful colors. We held our eggs over a flame and wiped the dripping wax off.
Then we gave them a coat of polyurethane spray. (Work in a ventilated area.)

Now the scary part. Blowing the egg out.
Unfortunately, you have to blow the egg out after it's been dyed because the hole will fill with liquid and the hollow egg won't sink in the dye bath.
You run the risk of cracking your egg after all that work, but that's just the name of the game.
Unfortunately, you have to blow the egg out after it's been dyed because the hole will fill with liquid and the hollow egg won't sink in the dye bath.
You run the risk of cracking your egg after all that work, but that's just the name of the game.
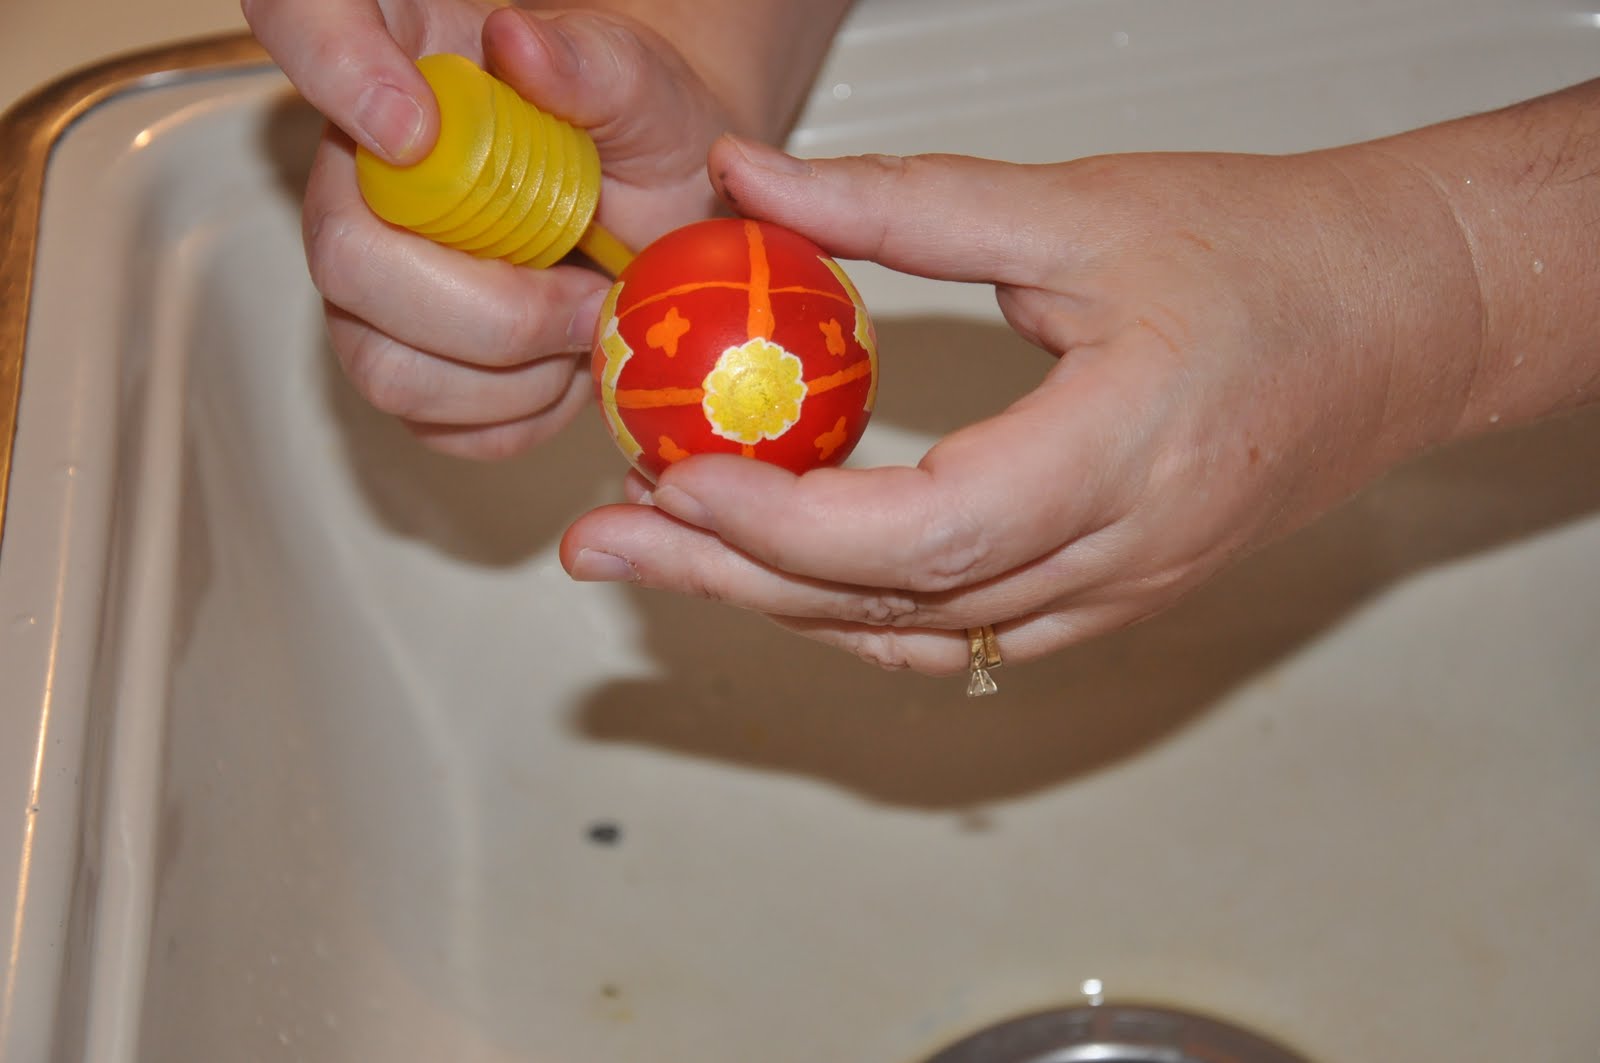 |
Kathy provided us with this great tool (above) that hand drilled a small hole in the shell and then we used this nifty suction blower (right) to get out the egg whites and yolk. We also squirted a bit of water inside, shook it around and emptied it again to clean it.
When we were all through we each had a beautiful egg that will last for years.


No comments:
Post a Comment