My Take on Apothecary Jars
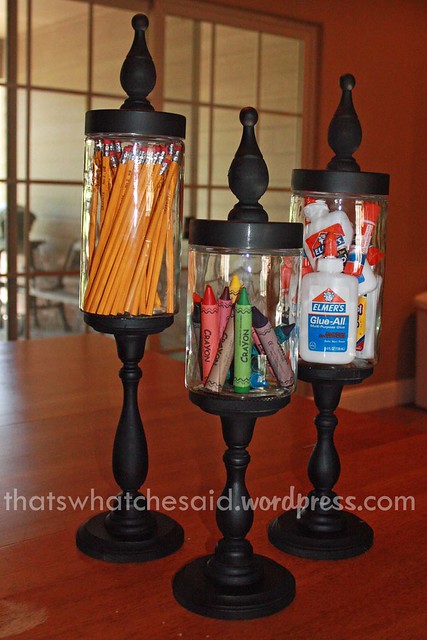
I’ll just dive right in! I love Apothecary jars. Love, Love, LOVE them! Here is my take on making your own! Really easy to do, just time consuming because you have to wait for things to dry.
 |
Supplies:
- (3) Glass Jars
- (3) unfinished wooden Candle Sticks
- (3) 4″ unfinished wooden plaques
- (3) 3″ unfinished wooden plaques
- (3) unfinished wooden finials
- STRONG glue or Epoxy
- Spraypaint
 |
2. Glue the TOP of your base plaque to the BOTTOM of your candlestick. Let Dry. (tick, tick, tick)
3. Take your finial and glue it to the lid of your jar. Let dry. (tick, tick, tick, tick)
4. Take Base/Candlestick in Step 2 and glue TOP of candle stick to TOP of plaque, so that the Plaque’s larger side is facing up. You now have the base for your apothacary jars. Let dry (tick, toc, tick, toc, tick, toc)
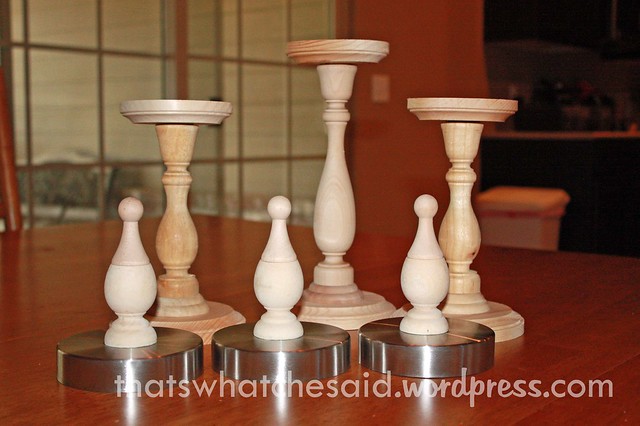
You then have these guys:
 |
6. Glue the BOTTOM of your jars onto the TOP of the bases. Let dry. (Might as well make a drink at this point..you have to do more waiting!)
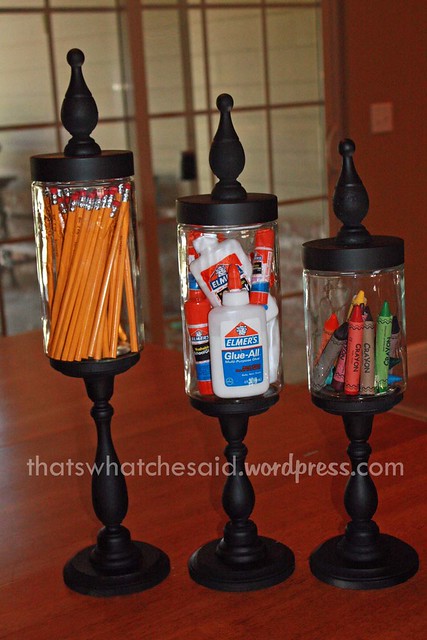
7. Finally the best part! Fill the jars!!! Since it is almost September, and to me, September is Back to School Month…I choose to fill mine with Pencils, Jumbo Crayons and Gluesticks and bottles!
 |
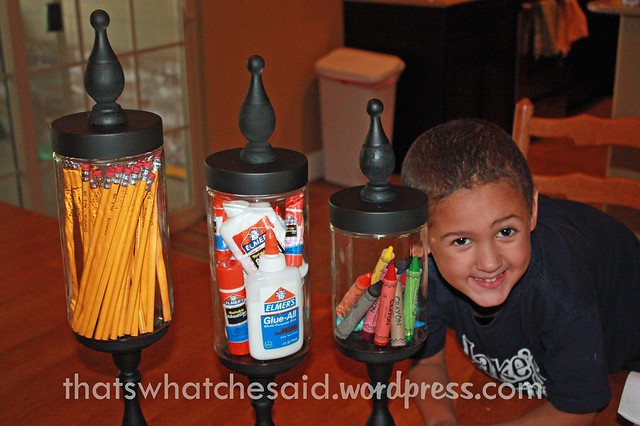
Oh and someone wanted some creative credit for the contents of the jars…
 |
I love them! I hope you love yours as much also!
My Project Notes:
For the jars: I found mine at Hobby Lobby. You can do all the same size or mix and match. I decided with (2) medium size and (1) small size. The large size was just too tall. You can also use regular household jars (pickles, salsa, etc) I just preferred the width of the lids on these from Hobby Lobby. (alot of grocery stores carry jars of different sizes for canning or even Walmart)
For the Plaques: These I found in the unfinished wood section of HL. They are to make plaques with. You will need a set of 3 to be your base of your candle stick and a set of 3 to be the base for your glass jar. Your size may differ from mine depending on the jars you use. (I reccommend big box store)
For the Finials: Your choice. I only had one choice at HL and these are it! (I would suggest one of the big box lumber/hardware stores)
For the Glue: I used 9001. It reminded me of Rubber Cement and took forever to dry. It was nice because I could center the candle sticks on the plaques but I am impatient and did I mention it took FOR-EV-ER to dry? (I'm leaning towards high temp hot melt glue or an epoxy, I've tried to use 9001 many times and just don't like it)
For the Spraypaint: Choose a color already in your supply or one that matches your decor. Your choice. I went with both of the above and chose black. I had it and it matched! (for best results choose a flat black or white or even some kind of metallic. I even found one paint that looks like oil bronze)


No comments:
Post a Comment